
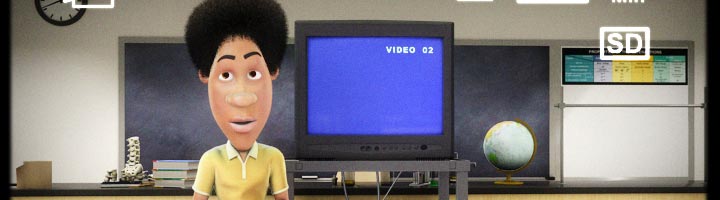
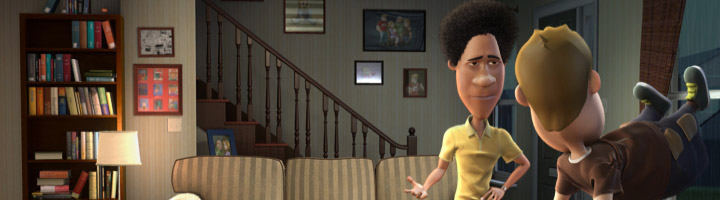
Teen Choice: Help from My Friends
Client: Archimage / Baylor College of Medicine
Director: Jackson Lau
Status: Completed
Darius science project explores the influences our friends have on the things we do; with a little help and cooperation...
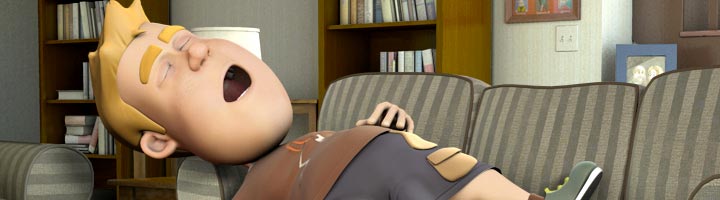
Teen Choice: Fast Food Restaurant
Client: Archimage / Baylor College of Medicine
Director: Jackson Lau
Status: Completed
Waking from a mid-afternoon nap, Kyles imaginary good side reminds the bad of the importance in eating a nutritionally-balanced...
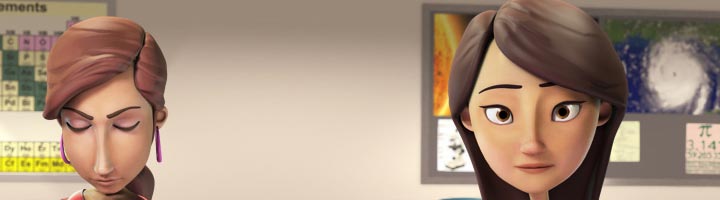
Teen Choice: Eat Breakfast
Client: Archimage / Baylor College of Medicine
Director: Jackson Lau
Maria learns that a good breakfast is a great way to get the energy you need to start another long day. With Lynns help...
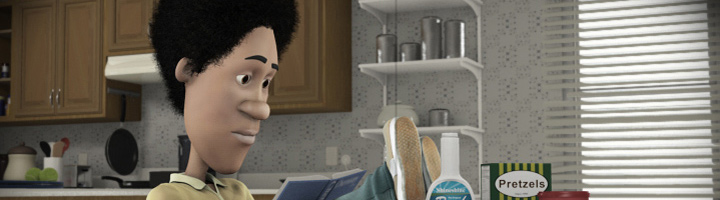
Teen Choice: There's Nothing to Eat
Client: Archimage / Baylor College of Medicine
Director: Jackson Lau
With little time and even less money, Darius finds a healthy, tasty and inexpensive alternative to the junkfood that...
Teen Choice: All Weather Physical Activities
Client: Archimage / Baylor College of Medicine
Director: Sukwon Shin
Getting up and getting going is tough, especially when the couch is so comfortable on a lazy afternoon. However, Darius and Kyle...

Teen Choice: Sedentary Activities
Client: Archimage / Baylor College of Medicine
Director: Jackson Lau
A sedentary lifestyle is hard to break out of when getting up and moving can seem like a lot of work, especially with a comfortable couch...
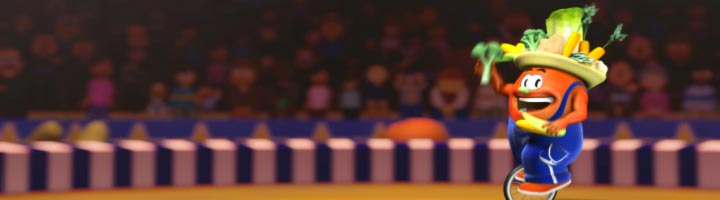
First Bites: Veggie Reggie
Client: Archimage / Baylor College of Medicine
The First Bites research project studied how to increase fruit and vegetable consumption in 3 to 5 year-old children. Reggie Veggie was created as the star of a 30-second...
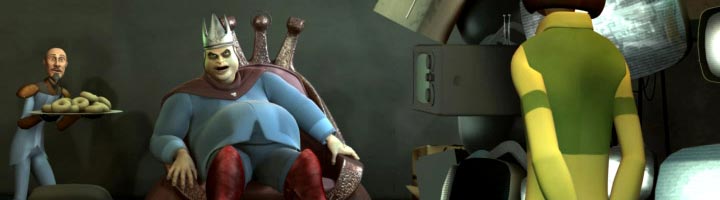
Escape From Diab: Throne Room Scene
Client: Archimage
Director: Bob Cozens
Escape from Diab
is a serious videogame adventure in healthy eating and exercise. The project is a production of Archimage in collaboration...
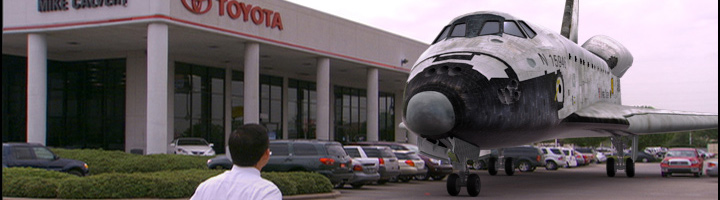
Mike Calvert Toyota: Space Shuttle
Agency: Freed Advertising
Producer: Dallas Baker
Director: Everett Gorel
Our studio was responsible for the 3D tracking, modeling, texturing, and lighting of the space shuttle in this commercial.
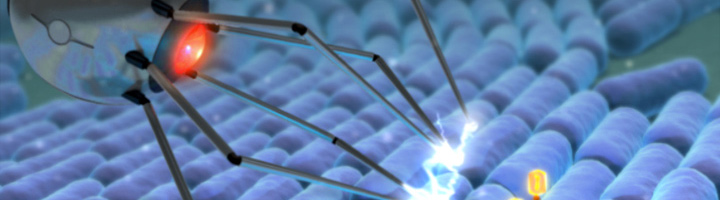
Nanoswarm: Invasion from Inner Space
Client: Archimage
Director: Bob Cozens
"Nanoswarm: Invasion from Inner Space" is a massive, multiyear computer game development project funded by the National Institutes of Health which...